Share this review
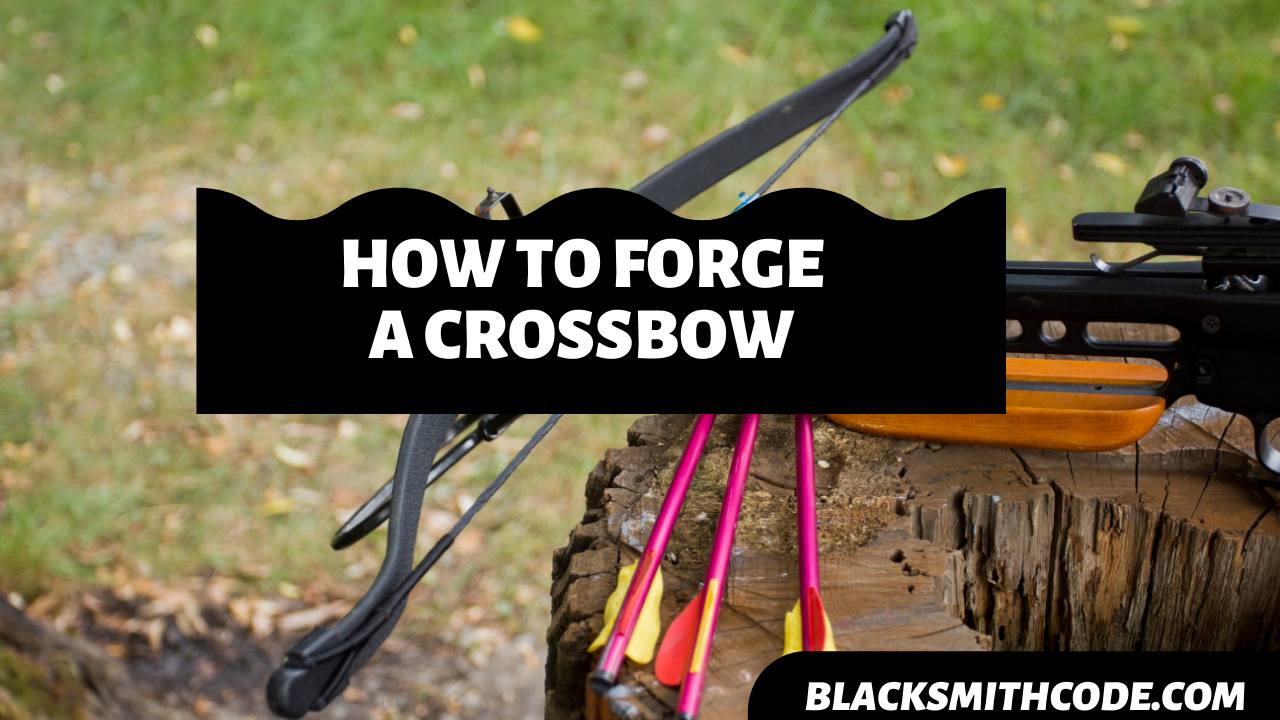
Do you intend to add a particular skill to your forging techniques? Then, you should consider learning how to make a medieval crossbow. A crossbow is simply a weapon that is useful for hunting.
It is a weapon with a bow that is horizontally mounted on a stick. The stick is called a stock, and it often shoots in a projectile manner. These medieval crossbows are more manual then the modern crossbows.
Modern crossbows are compound crossbows, and they have stiffer limbs. The more rigid arms of the contemporary crossbows improve its efficiency and the energy release to fire shorts. A modern crossbow typically have a string attached to a pulley system for easy pull and increased energy for firing shots.
However, forging a modern crossbow might prove a little difficult and technical. Some of these bows demand the use of mechanized and power machinery to make them. Nevertheless, you shouldn’t be discouraged.
You can still learn how to make the medieval crossbow for a start and gradually learn how to make the modern crossbow as time goes on. The stepwise guide below will help you through the forging process of a medieval crossbow.
This process is quite easy and less demanding.
Instructions on how to make a medieval crossbow
Step 1: Get Your Materials
The first thing to do is to get your materials ready, and these materials depend on the type and design of the crossbow you intend to create.
But basically, you would need a wooden bar to form your trigger and a steel bar to form your bow (limb). Remember, we would be forging one of the most uncomplicated but functional crossbows.
Step 2: Measure and Mark
Now, it is time to measure and mark the essential parts of your crossbow. First off, label the parts of the stock steel that would form the bend on the stock.
You should ensure that your measurements are precise and accurate.
Step 3: Create Your Design
Design is a crucial step while learning how to make a medieval crossbow. Creating your design here means you should simulate or draw out what you want to create on cardboard. This picture will guide you through the forging process and shape the creation of the crossbow.

Step 4: Form The Bow
The metal part of the crossbow where you attach your string is called the bow. It would be best if you had your basic blacksmithing technique to carry out this process effectively.
Follow these easy steps to form the bow
- Start by taking the stock steel to the forge and heating it to the desired temperature.
- Retrieve it from the forge and hammer down to flatten and thin out the steel.
- The two tips of the stock steel should be a little thinner than the remaining parts
- Hammer the stock steel to simulate the design you have created in step 3 above.
- Drill the edges of the stock for secure attachment of the spring.
- Attach the spring to the two ends of the stock. Remember to leave enough excess to pull while shooting.
Step 5: Create the Trigger
The trigger is the second part of a crossbow. You will be doing a little bit of woodwork at this stage.
Follow these easy steps to create the trigger
- Measure the wood stock and mark out your desired length and cut off the excesses.
- Mark out the area on the wood you want to use in creating the trigger. You can find a suitable spot for the trigger by holding the wooden bar as though you want to pull the trigger.
- Draw out a rectangular shape to mark out the area of the trigger.
- Drill the rectangular area you marked and carve it out using a chisel.
- Use a wood rasp to smoothen and perfect the inside of the wood.
- Sandpaper the perimeter of the rectangle to make it smooth.
- Make the groove. The groove is useful for holding the string to the trigger.
- Now, create the grip to hold while shooting the crossbow, and now your trigger is almost ready.
Step 6: Attach the Stock to the Bow
This stage is crucial for the crossbow’s efficiency.
- Place the trigger at the center of the stock to give you a perfect target angle when shooting.
- Draw the spring along the rectangular part you created for the trigger and find a suitable spot.
- Chisel down the convenient point on both sides of the rectangle. This area is the point you would attach the spring.
- Find a way to secure the stock to the bow together at the other end.
Step 7: Finish and Test Run
Once you complete step 6, you can try out your crossbow by attaching a bolt and aiming at a target. If you get the perfect outcome on the first try, you can pat yourself on the back.
If not, you can try and locate the error and make the necessary adjustments.
FAQs on how to make a medieval crossbow
Question
What are the uses of crossbows?
The primary use of crossbows is for hunting. Most people use crossbows while hunting for game in the forest. However, it is also a valuable weapon of war, particularly during the medieval ages.
In recent times, crossbows are useful in shooting sports for aiming targets.
Question
How far can a crossbow shoot accurately?
A crossbow can shoot as far as 40 yards. Hunters can still significantly hit their prey at this distance, and gamers can yet hit their target. However, not all crossbows can shoot up to 40 yards.
The distance a crossbow can shoot is dependent on the type of spring, trigger, and the type of bolt you are using.
Question
How long can you use a crossbow?
You can use a crossbow as long as it lasts. The durability of the crossbow depends on the type of materials used in creating it and the maintenance culture.
Video on how to make a medieval crossbow
Warnings and Precautions
- Avoid accidental discharge while test running the crossbow.
- Use safety gear while forging a crossbow.
- Do not handle hot steel with bare hands to avoid burns.
- Use sturdy springs for the project to prevent cutting off midway into the project.