Introduction
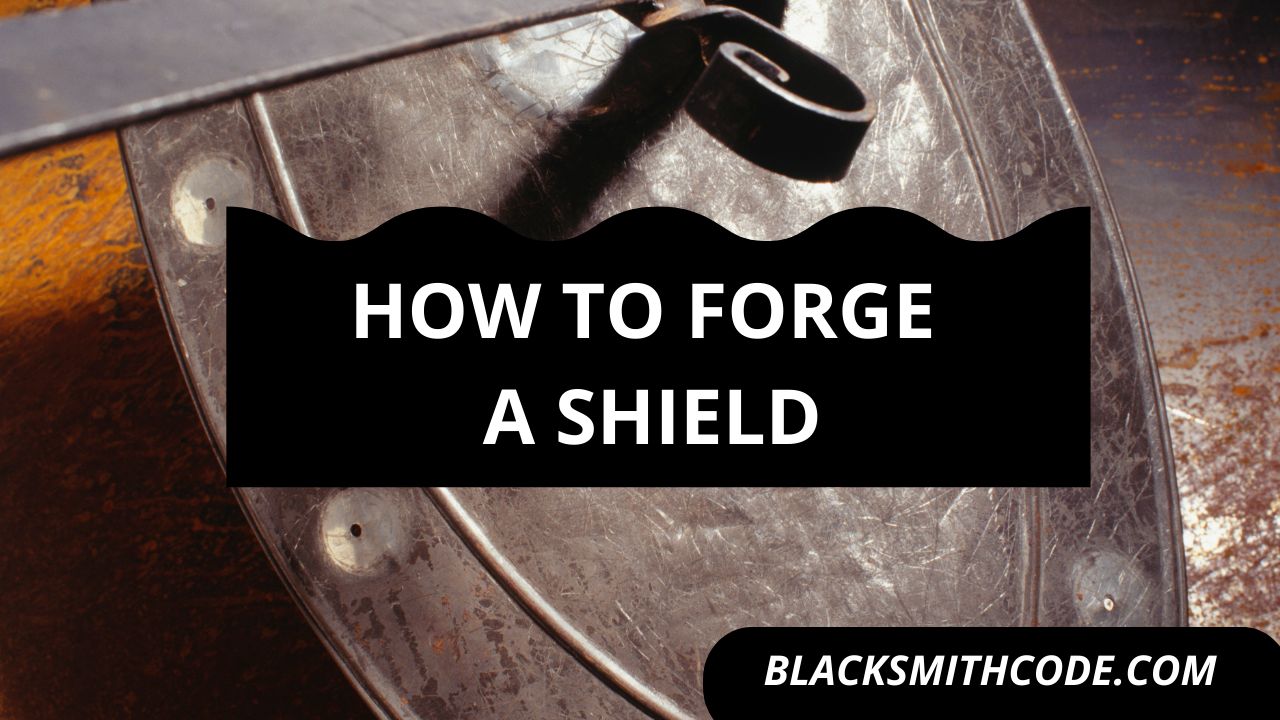
Do you wish to forge a shield but you don’t know how to go about the process? You are just a few minutes away from getting all the information you need on blacksmithing a shield right here .
A shield is a piece of war equipment that can serve two purposes; it can serve as a weapon and also serve as protection. It is a piece of handy equipment in warfare.
Due to the failure of wooden shields, blacksmiths proceeded to forge shields from metals. The metallic shield has become popular since then until the arrival of civilization.
Even after the arrival of civilization, blacksmiths still forge metallic shields for purposes such as home beautification and movie production. Forming a metallic shield is sometimes a stressful and challenging task. But, if you follow the right procedure, you should be able to build the shield quickly.
To forge a shield, you have to follow simple steps. These steps will serve as a guide for you when forming the shield. Below are the listed steps to follow.
Instructions on blacksmithing a shield

Step 1: Get Your Material For Your Shield
The materials for blacksmi a shield are slightly different from other projects. It is best to figure out the material that is best for your project and get them ready before you start. This act will make the entire process easier for you.
Get a thin but large sheet of steel. This flat steel sheet is the material you should use for your forging task. The steel sheet should be a clean one to be able to show markings.
You can also make use of other metal sheets, but due to preference, I’d recommend the use of steel over other metals.

Step 2: Make a Design
It is vital to have a clear picture of what you intend to create. It will help you mitigate the hassle attached to many steps in the process and it will also help you make the best measurement and cuts.
There are tons of designs that you can create for your shield. Aside from being able to copy from existing ones, you can also come up with yours.
Pro Tip
Designs are easy to come by nowadays. You can check the internet for designs of shields and pick the model you like. It would be best if you had a model for the shield you want to forge to give you a clear idea on the overall project.
Step 3: Marking
After getting your steel sheet, you should get a marker or any tool that can place markings on the steel sheet. It would be best if you drew the shape you want your shield to take on the steel sheet.
If you are simulating a model, ensure that you follow it to details except you are trying to create a new design.
Accuracy in drawing and marking the steel is essential to get your precise dimension. You could as well make some measurements when marking the shape on the metal. It will ensure accuracy when marking.
Step 4: Cut Out The Marked Shape
After marking out the shield’s shape on the steel, you should cut out the design using a cutting tool. It would help if you did the cutting along the measured marking. Cutting is an essential part of getting accurate result when blacksmithing a shield.
Quick Note:
When cutting, you should be careful you don’t cut the wrong shape. Cutting is a very crucial step because it often influences the outcome of the project.

Step 5: Grind The Edges Of The Shield
Grinding the edges of your pieces is essential when blacksmithing a shield. It would be best if you ground the sides of your shield with a grinder.
Grinding the edge of the shield is vital because if you do not perform a bit of grinding of the edges of the shield, the side will look rough, sharp, and can infringe harm on the person carrying it. So, the edges need to be fine and smooth.

Step 6: Join The Pieces
You cannot make a forge by having individual pieces. You have to use suitable joining technique to assemble the pieces.In this case, it refers to customizing your shield to suit your taste.
Quick Steps
- The first thing to do is to tape the edges of your shield with paper tape.
- After taping the shield’s sides, you should then mark the ends of the tape with a marker. The tape serves as a guide for getting an accurate lining.
- Place the shield plate in a roller to give it its curved shape.
- Use suitable joining techniques depending on your design and material. Forge welding is usually perfect for the process.
Step 7: Add A Handle
Obviously, a shield needs a handle where you will have to carry it. You have to add the handle to the shield. The handle should be in the inner part of the shield.
The handle should be made of durable materials because when you carry the shield, the weight of the shield falls on the handle to a shield is quite flexible.
You can add the type of handle that best suit your shield design. You can cut out the sizeable handle from steel, metal rods, and other suitable material. Join it to the shield by forge welding or other appropriate technique.
Step 8: Add A Finishing Design
To make your shield unique, you have to add some finishing design. The design you add to your shield should be unique so your shield will stand out among others.
It would be best if you also polished your shield to make it shine and look good. The finishing will not only improve the outlook of the project. It will also improve its durability and ability to withstand adverse conditions.
FAQs on blacksmithing a shield
Question
Is it easy to forge a shield?
Building a shield seems easy. To form a shield, you need to follow simple, specific steps. These steps make it easy to forge a shield.
Forging a shield is easy if you follow the right steps when building. Taking the listed steps above can make the building very easy for you.
Question
Can you forge a shield from other metals?
You can forge a shield from different materials aside from metals. Developing a shield from other metals apart from steel is possible only that the quality of the products of each metal will be different.
The property of the metal used in forging can determine the qualities of the products formed. You should check out the quality of the metal you use in forging. The metal should be durable and very malleable.
The metal’s property should include the property of a suitable good metal.
Question
How strong can the shield be?
The shield can be strong enough to withstand blows from swords, clubs, and other fighting equipment. The shield is handy when it comes to protection, hence making smiths forge it to be of high strength and durable.
Question
Can I forge a shield with bronze?
Forging a shield with bronze might not be appropriate. A shield is useful for protection against weapons like swords. So, the materials for the guard must be able to withstand such blows and force.
The strength of bronze might not be able to withstand these conditions.
Question
Can Blacksmiths make shields?
Of course! Blacksmiths can make a shield as long as they have the required skills and materials. They can make other tools and armors as well.
Question
What do I need to forge a shield?
The tools and materials you need to forge a shield are not different from what you need for most other blacksmithing projects. You can make a blacksmith shield with a hammer, tongs, hammer, anvil, forge, and markers.
Question
Can blacksmiths forge guns?
Blacksmiths can forge a lot of weapons, including guns and gun barrels. They can also make other materials like swords, knives, railings, gates, and other metal projects.
Question
Is blacksmithing dangerous?
Blacksmithing comes with its wok hazard, just like most other crafts. Nevertheless, it is easy to say that blacksmithing is one of the most hazardous arts. It deals with fire, very hot metals, and repeated heavy hammer blows. It is possible to get scars and burns from these processes quickly.
However, you can mitigate these hazards and dangers by putting some precautionary safety measures in place. Putting on your safety gears (gloves, aprons, etc.), keeping fire extinguishers and first aid kits close to you, as well as ensuring other blacksmith safety measures will ensure your safety.
Question
Should I use gloves while forging a shield?
A glove is one of the primary protective materials for blacksmiths, and it is essential for almost every project, particularly those that have to do with forge. You should also consider the use of other protective materials like aprons and safety glasses.
Question
How heavy is a Viking shield?
A Viking shield is always slightly heavier than other regular ones. Guards used in the Viking era are usually for wars where they use heavy weapons. So, most Viking shields typically weigh around 10-20lbs.
With this weight, it can easily protect them against other weapons. Besides, it won’t be too heavy to carry.
Question
Can I forge a shield at home?
You can forge a shield at home or in the blacksmith’s shop, as long as you have the right tools and appropriate skills.
Question
Is it difficult to forge a shield?
Forging a shield is not tricky. It doesn’t pose much hassle, especially with the proper knowledge and tools. The essential part of the process is getting the suitable materials, design models, making accurate measurements, and making the right cuts.
Question
Can I make money from forging shields?
Of course! You can make money from forging any blacksmithing project. For instance, you can make money from making shields by selling them to police officers and other similar groups that need protection.
Alternatively, making a Viking shield and other ancient crafts can be a good fit for blacksmith art galleries.
Question
What is the best forge for beginners?
Beginners in the blacksmith profession might find it challenging to use some forge for their blacksmithing processes. Although the coal forge is an excellent forge for blacksmiths, it might pose a lot of difficulty for users, especially beginners.
The propane forge provides easier usage for beginners making it an appropriate type of forge. The forge is very easy to control and provides the needed heat ranging from low to very high. It might cost more to get, but it sure does provide top-notch efficiency and performance.
Question
How long does it take to forge a shield?
Forging a shield is not time-consuming, especially if it is not your first time and you know the proper steps. If you know how to forge a shield already, you can develop it within 24 hours. If you are trying out the project for the first time, it can take a longer time than that.
Question
How long does it take to become a blacksmith master?
Learning is a lifelong process, and it continues throughout the entire career. However, once you complete your blacksmithing training, own your blacksmithing shop, and have 2-5 years of experience under your belt before you qualify for the master rank.
Warnings
You should follow safety rules and regulations when forging your shield. Following these safety precautions will ensure you are safe at all times.
- Always keep your hands and feet away from tools that can cause you harm.
- Keep your working environment clean always.
- You should make use of the appropriate tool for each task.
- You shouldn’t make use of damaged devices.
- Always make sure you follow safety rules and precautions.