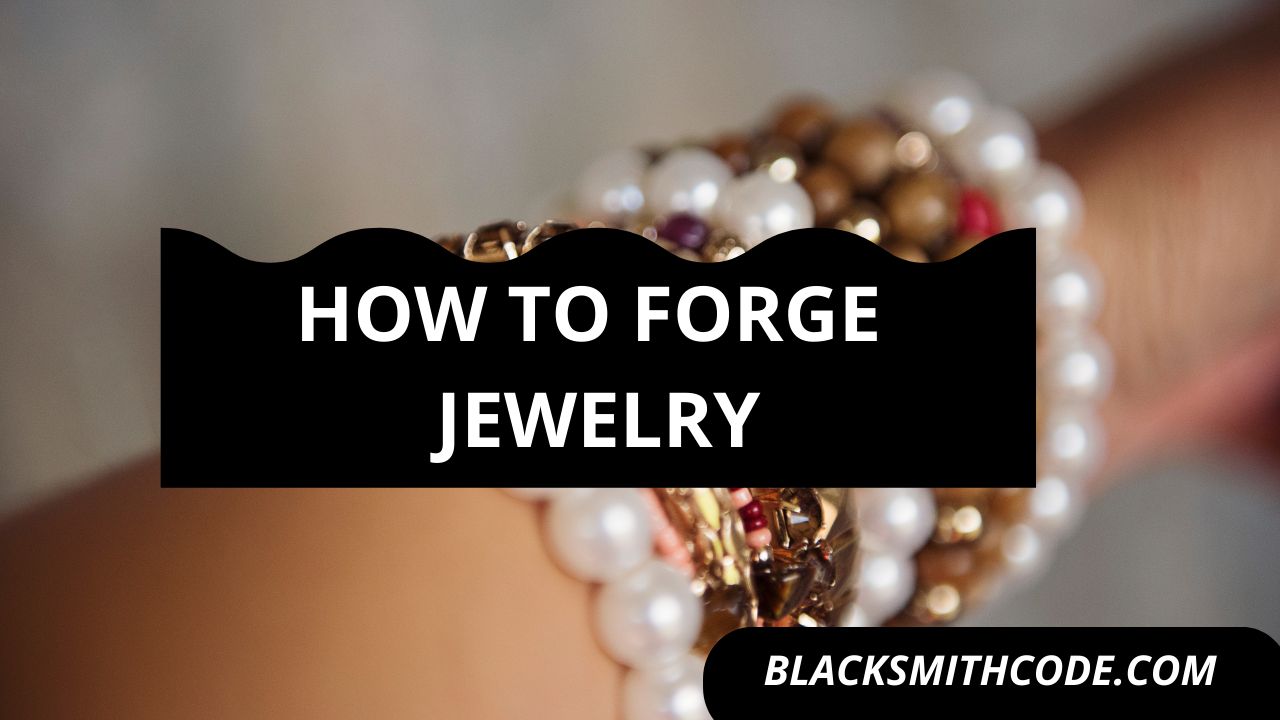
Have you ever noticed how jewelry adorn people beautifully? Why not adorn yourself with some set of jewelry you can forge yourself.
Jewelry is ornaments worn for personal adornments. They include earrings, bracelets, cufflinks, necklaces, and so on.
Jewelries are made from silver, glass, gold, plastics, metals, and many other materials. They also make them from precious stones like ruby, diamond, emerald, sapphire, marble, and lots more.
Here, beads are the type of jewelry we will be learning how to forge. Beads are small ornaments used in decoration and adornment. They are also useful in making bracelets and necklaces.
Beads are known to come in different materials like plastic, metal, wood, ceramic, etc. Here, our source material will be from metal. We will be speaking on how to forge metallic pearl and hint on how to make them ornamentals.
To forge a metallic bead, you have to follow steps and procedures. There are steps to follow when forming, hence a listed step to follow to create your beads;
Essential tools used in forging jewelry
To forge jewelry, you will make use of specific kinds of devices. Some of the tools include;
Crucibles
Instructions
Step 1: Get a Rectangular Steel Rod
The rectangular steel rod is the exact material needed to make a bead. You can make use of another metallic rod, but a square steel rod allows easy forging.
The rod shouldn’t be too long. The length of the rod determines the number of beads you can forge. The bead’s width should be wide enough to accommodate a drill press because you will make use of it.

Step 2: Heat the Rod in a Forge
Place the rod in the forge and heat it until it becomes red hot. The temperature should be over 5000℃. It will take a while before the rod heats up, so you would have to wait a while.
After heating the rod to the required temperature, you should retrieve the rod from the forge. Do not use your bare hands so you won’t burn yourself. You should make use of crucibles or any other clamping tool to bring out the hot rod.
When heating, you shouldn’t put all the rod in the forge. You should only put a part in the forge for heating.
Step 3: Make a Helix by Twisting
This stage requires cautiousness. You should be careful and precise at this stage. To make a helix, you have to twist the rod, and to do that; you have to follow simple steps.
Quick Steps
- Place the hot rod in a clamp and tighten it so it won’t fall off. You can put it so that the hot part of the rod is available for action while the cold part is in the clamp.
- Get another clamp and tighten it around the tip of the hot side of the rod.
- Now, gently rotate the clamp with your two hands and watch how the helix forms.
- Allow the rod to cool down steadily before removing it from the clamp.
The way you rotate the clamp determines how your twist comes out. And the twist determines the design of your beads.
Step 4: Cutting and Drilling
After cooling, you have to perform some cutting on the rod before forging the jewelry. To cut, you have to:
Quick Status
- Check out the untwisted part of the rod and mark it for cutting.
- Check out the untwisted tip that the clamp gripped and cut it off.
- You should also cut off the other part of the untwisted rod. Before cutting this part, you should leave a gripping space of about 5cm from the twisted part. This part is what the clamp will grip during drilling.
After cutting off the unwanted part, you should drill a hole in the middle of the twisted rod with your drill press. The drill press should not be too large so that the rod will not break when drilling.
Step 5: Cut Into Different Piece
You can now cut off the untwisted part; its use is over. The twisted part will serve as your bead only if you cut into small pieces. Cut the twisted rod into smaller pieces using a hacksaw, wheel cutter, or any preferred cutting tool.
These small pieces of twisted metal are your beads.
Step 6: Polishing And Finishing
You are almost done with your forging process. The beads are ready but are not safe to put on yet. To make them safe, you have to treat them to sanding to get rid of their sharp edges.
It won’t be advisable to use a grinder at this point because they are small and you can barely hold them against the belts. To make it easier, you can put them in a tumbler for grinding; it will save you a lot of sanding stress.
You can choose to polish it the way you like. The way you polish your beads depends on your fashion preference.
Once you have your beads, you can place a number of them on a string to serve as a bracelet or necklace.
FAQs on How to Forge Jewelry
Question
Can I forge other types of jewelry using this technique?
If forging the jewelry requires this technique, then you can create it. You can make different jewelry using different methods.
Question
Can I make my jewelry from scrap metals?
You can make your jewelry from scrap metals as long as the metal can forge the type of jewelry you want. You can also make earrings, cuff links, nose rings, etc. from scrap metals.
Question
Are metallic beads better than ceramic beads?
This question is subjective. It depends on the aspect you are talking about and also your preference for any of the two.
Video
Precautions
Here are some precautions to take when forging a piece of jewelry;
- Always make sure you use the appropriate tool for each task.
- Do not touch hot substances with bare hands.
- Be cautious when making use of tools that can bring you harm.
- Always wear protective clothing.
- Follow all safety precautions.


References
1. https://www.youtube.com/watch?v=-c7a87MLj74
2. https://www.iforgeiron.com/topic/34900-blacksmithing-jewelery-ie-rings/
3. https://www.wikihow.com/Make-Jewelry
4. https://www.wikihow.com/Make-Sterling-Silver-Jewelry
5. https://www.wikihow.com/Make-Fake-Jewelry-Silver-Again
6. https://www.instructables.com/id/Drop-Forged-Bracelet-make-jewellery-from-tools/
