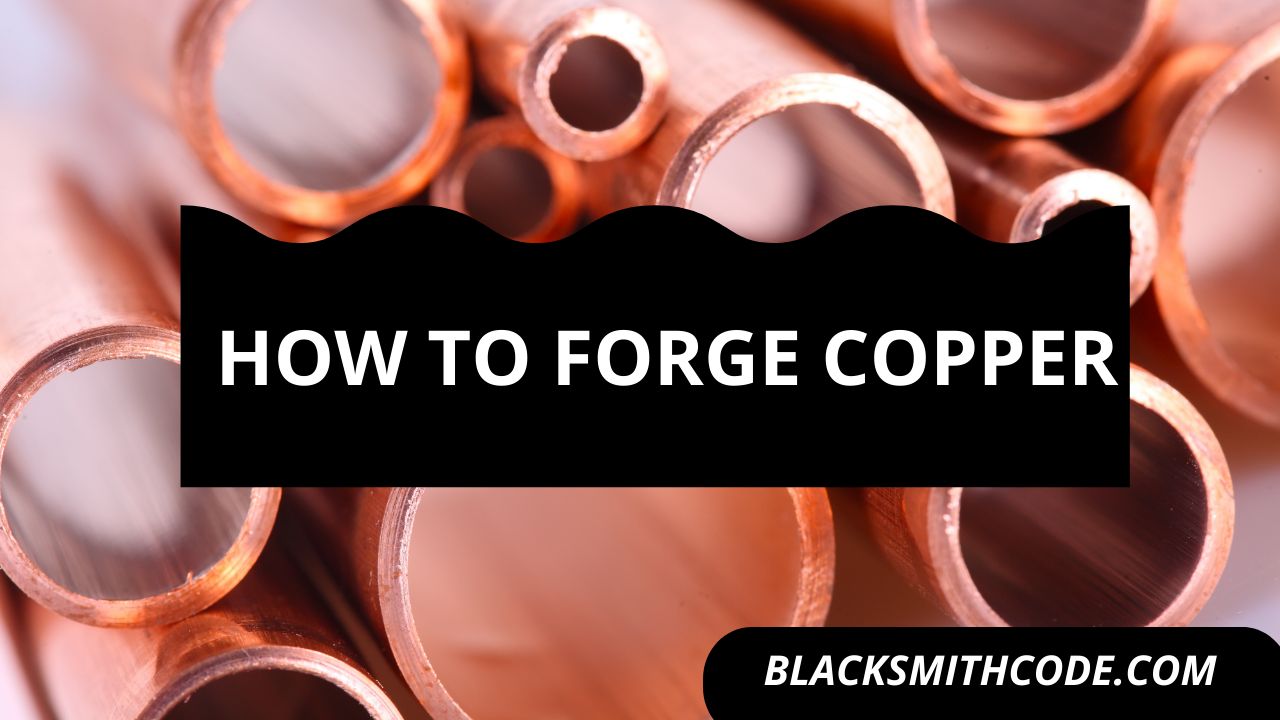
Are you aware that blacksmiths also use coppers to forge varieties of materials? Copper is a reddish-brown material with a lot of physical and chemical properties.
In the early times, copper is one of the leading competitors of steel when it comes to forging materials. During the medieval copper age, blacksmiths often hammer copper while cold and only make use of heat to harden the metal.
However, times have changed, and there is a lot of evolution in coppers’ forging process. Several forming techniques have increased the utility of copper for various operations.
Copper is adaptable for these various techniques because of its unique properties. Copper is highly malleable and very ductile. You make it to different shapes and make it into a thin wire. That is why copper is suitable for electric cables.
Also, copper can efficiently conduct electricity and heat. It also has high tensile strength making it responsive to several treatments. Copper is also lustrous. It shines and glows in heat.
Copper has properties that are unique from other metals. It is useful for the forming of different metals. You can also forge copper alone. The following steps will guide you through the forging process of forging copper.
Essentials
The essentials for forging copper include;
Cutter/metal shears
Marker
Forge
Solder
Quenching bucket
Instructions on How to Forge Copper
Step 1: Get Your Copper Materials
You cannot possibly forge copper in the absence of copper. So, the first thing is to get your copper materials. The product you are trying to create can influence what you have to get.
The most important thing is to get the materials that would be suitable for your project.
Step 2: Shaping and Hammering
Are you surprised that copper’s shaping and hammering are coming before the heating process? You shouldn’t be. The properties of copper make it easy to form it into different shapes.
Unlike steel and other metals, it is easier to form copper while cold than when you harden or heat it. The trick is to treat it like you are working on hot steel.
Quick Steps
- Mark out the shape or size you want to cut out of the stock of copper.
- Cut it to take the shape and size you want. The cutting is effortless because copper is not as hard as steel. An average cutter will give you an excellent cut.
- Hammer, if need be. Some parts of the materials are curved, and you would need a hammer to help them take shape. Hammer gently not to distort the original form you want to create.
- Hammer with the technique until you have your desired outcome.
Step 3: Annealing/ Hardening
Annealing is an essential step in the forging process of copper. This necessity is because, without this process, your product will deform easily. The durability and quality might also be compromised.
Quick Steps
- Heat the copper material in a forge or other suitable heat source until you achieve an appropriate temperature.
- You can stop heating once you have a glowing dull red color.
- Rapidly quench the material in water or quenching oil.
- Repeat the process as long as you want until you achieve your desired result.
- If you intend to further work on the metal, you should carry out the annealing process properly. This process will help you mitigate the possibility of copper cracking while working on it.
Step 4: Joining
There are several methods suitable for joining copper. You might not need this technique or procedure, depending on the product you intend to create. The joining techniques for copper include:
Quick Steps
- Forge welding: Forge welding is possible for copper, but it might be a little challenging. It would be best if you had a precise technique to make it happen. Beginners should stick with cold forging or casting; they might end up melting their copper.
- Lockseams: Lockseams is like creating interlocking for the copper, and this method is relatively easy. You will cut the copper in a complementing manner to form interlocking.
- Brazing: Brazing is another method for joining copper. For this process, you might need a bronze with high zinc content or other materials with lower melting points. Use hard solder for the joining and be careful to ensure that it is neat.
Step 5: Deep Drawing
Deep drawing for copper is specific for creating specific supplies. It is useful in creating materials like metal sinks and cans. This step aims at creating straight-side objects without any need to join individual pieces.
Step 6: Polishing and finishing
If you heat copper during the forging process, there is a high probability that there would be oxides on the surface. You will have to remove the oxides.
Employing advanced polishing techniques is a choice of the blacksmith.
FAQs on How to Forge Copper
Question
What can you make from copper?
There are several tools and supplies that you can create from copper. These supplies include copper jewelry, cables, copper mugs, cookware, plates, decorative materials, sculptures, and so on.
Question
Can you work on copper without heating?
You can successfully work on your copper without heating it. This possibility is because copper is a soft metal, and it is highly malleable and ductile. Working on copper while it is cold can even give you a harder result because it compresses the molecules.
Question
Can I anneal copper without quenching it?
Yes. You can anneal copper without having to quench it. You can leave it in the air to cool slowly. However, this process is slower than quenching it in water.
Video
Precautions
It would be best if you observed the following precautions while forging copper.
- First off, take all precautions as though you are working with steel or iron.
- Put on your protective coverings, including a respirator, if you have one.
- Ensure that your workplace is properly ventilated
- Be careful of the fumes that come from your heating
References
1. https://blacksmithu.com/beginner-guide-forging-copper-bronze-brass/
2. https://www.youtube.com/watch?v=aw1tJjULLXg
3. https://www.youtube.com/watch?v=D-jE_wlADdE
4. https://www.copper.org/applications/rodbar/forgings.html
5. https://www.thoughtco.com/copper-facts-chemical-and-physical-properties-606521


