A hammer is an essential tool in blacksmithing; don’t you care to know how to forge it? Forging a hammer can be considered a noble blacksmithing act as you are forming an essential tool in the blacksmithing world.
The hammer is useful in beating metals into different shapes. It is a handy tool in blacksmithing, and the essence shouldn’t be overlooked when forging.
Before forging other tools, let’s talk about forging the instrument that plays a significant role in developing other equipments. It would be best if you learned how to forge the hammer before forging other tools.
Forging a hammer includes specific simple and straightforward steps. There are a few, but active listed steps below that can guide you in forming your hammer.
Essentials
Tools used in forming a hammer include:
Chisel
Instructions on How to Forge A Hammer
Step 1: Get The Materials You Need
To forge a hammer, you will need a round billet. The size of the billet should be proportional to the size of your hammerhead. You will use the billet to forge the hammerhead while you get a wooden or metallic rod to serve as the handle.
The material used in forging the hammer should be ready and should be in good form.

Step 2: Heat The Billet
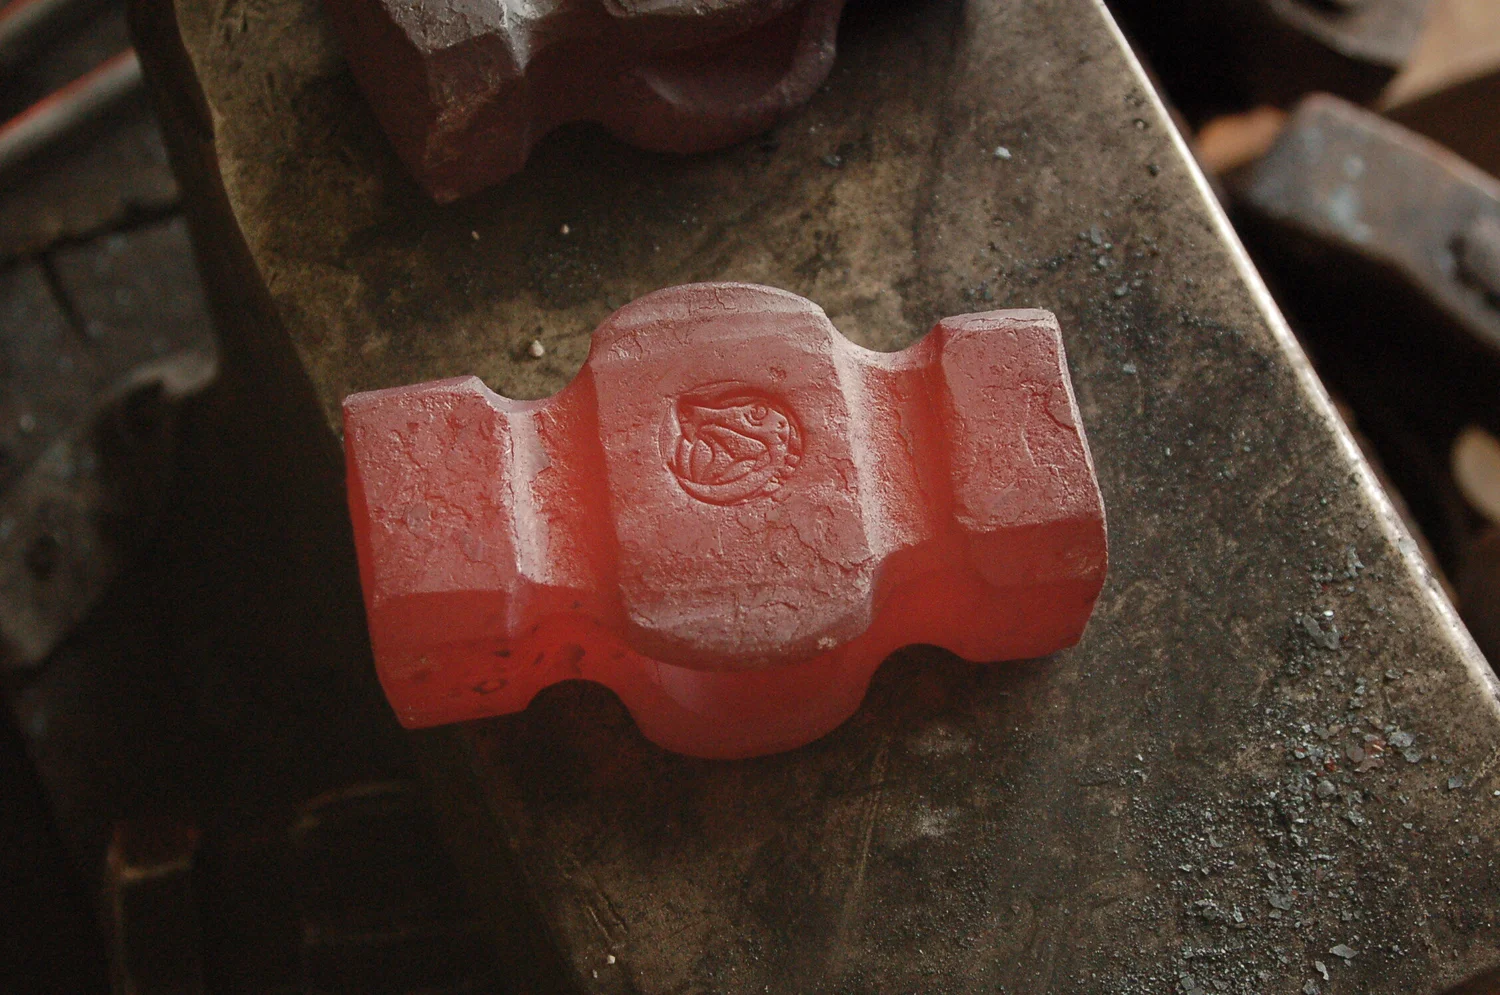
To be able to forge the hammerhead, you have to heat the billet to a red-hot stage. Heating the billet to a red-hot stage might take time but will make your work easier, especially when carving out your shape into the billet to take the form of the hammerhead.

Step 3: Beat And Bevel To Your Desired Shape
Most people like square and round hammers. The most common type of hammers is the squared hammers. But you can make a little difference by creating another shape for your hammer. You should decide on the type before you proceed to forging a hammer.
It would be best if you beat the hot billet into the shape you want it to take. It would be best if you also beveled the edges of the billet to have a unique way. With a beveled edge and beaten body, you can proceed to the next step of forging.

Step 4: Drift Your Hole
Drift a hole into the middle of the hot-shaped billet to serve as a port the handle will fit in. You can drift the hole using a piercing or chopping instrument like a chisel and punch.
Quick Steps
When drifting:
- You should rotate the billet so that there would be an even drift value in the billet.
- You should drift the hole into the billet while the billet is still hot. If the billet cools down, it won’t be easy to bore the hole in it.
- It would be best if you occasionally heated the billet to remain malleable.
- It would be best if you pierced through the billet to the other side to accommodate the handle.

Step 5: Forging Your Shape
After you’ve had your hole in the billet, you can then forge the shape you want your hammerhead to take. Forming your hammerhead should also be done when the billet is still hot.
Pro Tip
You can forge the shape you want using the chisel or other shaping tools. When forming, you should be careful and be precise with your target so you won’t make mistakes.
Step 6: Smoothing The Billet
After forging your shape into the billet, there would be rough surfaces and edges. To remove these sharp edges and surfaces, you have to make use of a brush to clear the uneven surface.
Do not use a rubber or plastic brush because it will melt immediately on touching the surface of the hot billet. You should make use of a wire brush. You should use the wire brush to scrub the surface of the billet to make it smooth.
Step 7: Reheat And Quench
When you are done with the forging, and you are satisfied with the shape of the hammerhead, you should reheat the hammerhead to a red-hot temperature. After heating the hammerhead, you should quench in oil or water to make the hammerhead tougher.
The hammerhead should be allowed to cool slowly in the quench liquid.
Step 8: Join The Handle
When the hammerhead has cooled, you can add the handle to the head. You should insert the stem into the hole drifted into the billet. The handle should be large enough to fit into the hole and remain firm and shouldn’t be too large that it won’t fit into the hole.
FAQs on How to Forge A Hammer
Question
How essential is the hammer in blacksmithing?
A hammer is an essential tool in blacksmithing. It is the tool used in beating metal into shapes. The hammer is crucial in forging as, without it, forging might not go well.
Using the hammer in forging is essential, especially when forming equipment requiring beating.
Question
Can I forge a hammer from scrap metals?
Yes, you can forge a hammer from scrap metals. Forging a hammer from scrap metal is possible only that it will require much conditioning and fine-tuning before it can emerge as a hammer.
The only part of the hammer that requires forging from metal is the hammerhead. Once you can create the hammerhead from the scrap metal, you have then formed your hammer.
Question
How long can it take to forge a hammer?
The time it takes to forge a hammer depends on the smith and the type of hammer formed. But, forging a hammer does not take much time. You can ultimately forge a hammer in two hours.
Video
Warnings
When forging a hammer, you should follow some safety precautions. Some of the safety precautions to observe include:
•You should ensure you always put on suitable protective clothing.
• Also, ensure to make use of the right tool for every task.
• You should always avoid using damaged tools.
•Always follow safety instructions.
• When handling the hot substance, you should be very careful, so you won’t burn yourself.
References
1. https://www.instructables.com/id/Lets-Forge-a-Hammer/
2. https://www.whiskeyturtleforge.com/how-its-made/2020/1/7/forging-a-blacksmiths-rounding-hammer
3. https://www.anvilfire.com/iForge/tutor/jdhammer/top_index.htm
4. https://blacksmith.org/forum/tools-trade/making-tools-make-hammer-first-steps/


