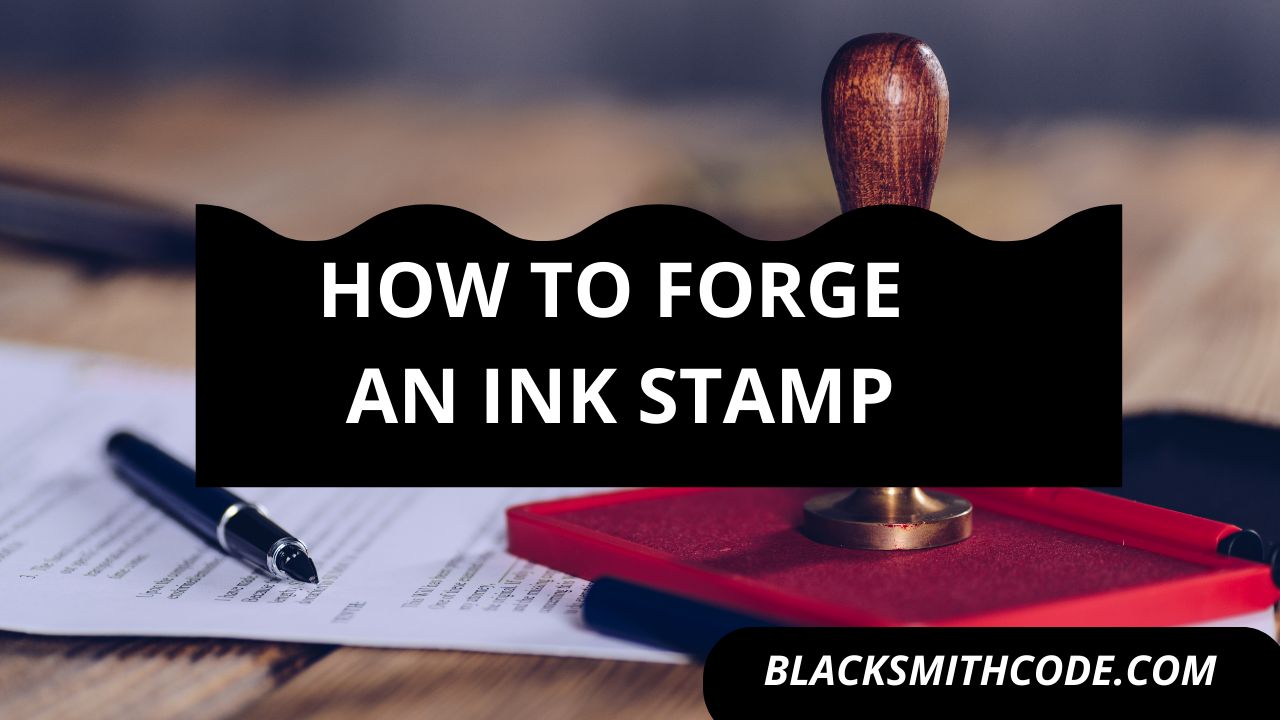
Have you ever considered yourself lucky to forge an official ink stamp? Let’s take blacksmithing a little oficial by learning how to forge an ink stamp. To be able to form even any ink stamp, you must learn some necessary steps.
Ink stamps are handy in creating seals and also giving specific recognition to the person or business that owns the patch. The ink stamp is functional in providing authority.
In the traditional days, people of high authority or class make use of ink stamps to show power, especially when a bill is passed to confirm it is a direct document from the seal’s possessor.
Forging a stamp might be a little bit complicated, but if you follow the necessary and appropriate steps, the forging might seem simple. Here are steps you should follow while forging an ink stamp.
Essentials
To form an ink stamp, you need to use specific tools to ensure the smooth running of the task. Making use of the right tool will make your work easier and give a better result than using a crooked tool. Some of the tools used in forging an ink stamp include;
Instructions on how to forge an ink stamp
Step 1: Get Your Tools and Materials Ready
One of the qualities of an excellent blacksmithing job is the readiness of tools and materials. The tools you intend to use should be intact and ready.
There should not be a time while forging that you will go in search of a tool. Your materials should also be ready and intact. To form an ink stamp, you should get a steel billet.
This billet should have a little bit large mass to be able to forge
Step 2: Get A Design
There are several ink stamps templates, so I suppose getting a plan for your ink stamp should not be a problem. As a beginner, it is advisable to pick a simple design to be able to forge it ultimately before choosing intricate designs of an ink stamp.
The design you pick determines the way your ink stamp will eventually turn out.
Step 3: Heat Your Steel Billet
After getting the appropriate size of your steel billet, you should place it in a forge to heat it. It would be best to raise the billet’s temperature to a very high range, a red-hot temperature.
Pro Tip
This method will enable easy forging because steel’s malleability will increase due to the high temperature.
Step 4: Forge Your Ink Stamp
Forging is easy when the metal is hot and also very dangerous if mishandled because red hot metals can burn you. It would be best if you considered cutting out the shape of your ink stamp from the billet.
This task should not be considered an easy task as it requires expertise and experience. When forging the stamp from the billet, you should chop out parts of the billet gradually and randomly (according to your design) until the billet takes the form of your design.
Step 5: Reheat And Carve Your Ink Stamp Design
One of the things that make every ink stamp stand out from the other is the design of the seal they make.
Quick steps
- Each stamp has a unique kind of stamp design, so when forging your ink stamp, you should carve out a unique design for the ink stamp.
- Also, heat the metal till it becomes red hot and ready to forge.
- After heating the metal, you can then use a machine that creates an impression on hot metals. The idea created by this machine serves as the template for the ink stamp design.
Step 6: Quenching
To keep the ink stamp sturdy and durable, you have to quench the hot metal in a quench liquid, either oil or water. After you reheat the billet, it should be placed in a quench liquid and cool steadily.
This act strengthens the billet and makes it more durable and highly resistant to other forces.
Step 7: Polishing And Finishing
After quenching, you have your ink stamp ready to perform actions. But this stamp will look rough and should thereby undergo some finishing touches. To smoothen the surface, you have to make use of a wire brush to scrub the surface.
Using a wire brush will not only allow the surface to be smooth but also enable the surface to shine.
Step 8: Handle
After polishing and adding some finishing touches to the ink stamp, the final action to take is to add your handle. It would be best if you join the handle to the seal. It is preferable to make use of wooden handles for metallic stamps.
FAQs on how to forge an ink stamp
Question
Can you use a rubber ink stamp in place of a metallic ink stamp?
Every stamp aims to transfer a template from the stamp to the paper using ink. If the rubber stamp can perform this task, then it is a useful ink stamp. You can use any stamp as long as it can carry out a stamp’s job.
Question
How can I use this forged stamp?
Like every other stamp, you place it on an ink pad and then on the surface you want to stamp. This ink stamp is not different from any other patch in terms of how you use it. You can use it the way you use other types of stamps.
Question
Can I forge a stamp from scrap metals?
Forging an ink stamp from a scrap metal depends on the size of the scrap metal. If the scrap metal is too small to be able to form an ink stamp, then you cannot forge the ink stamp from the steel. But if the scrap metal is big enough to forge the ink stamp, you can then forge it from the metal.
Video on how to forge an ink stamp
Warnings
Here are some precautions to follow:
- Always wear protective clothing to protect your skin.
- Wear goggles to protect your eyes.
- You should always make use of the appropriate tools for each task.
- You should be careful when handling a hot substance.
- Immersing hot steel in oil can cause fire, so you should be very careful


