How much do you know about knives, little or much? Have you tried forging a cleaver? Then you have the needed guide to do this just few lines away.
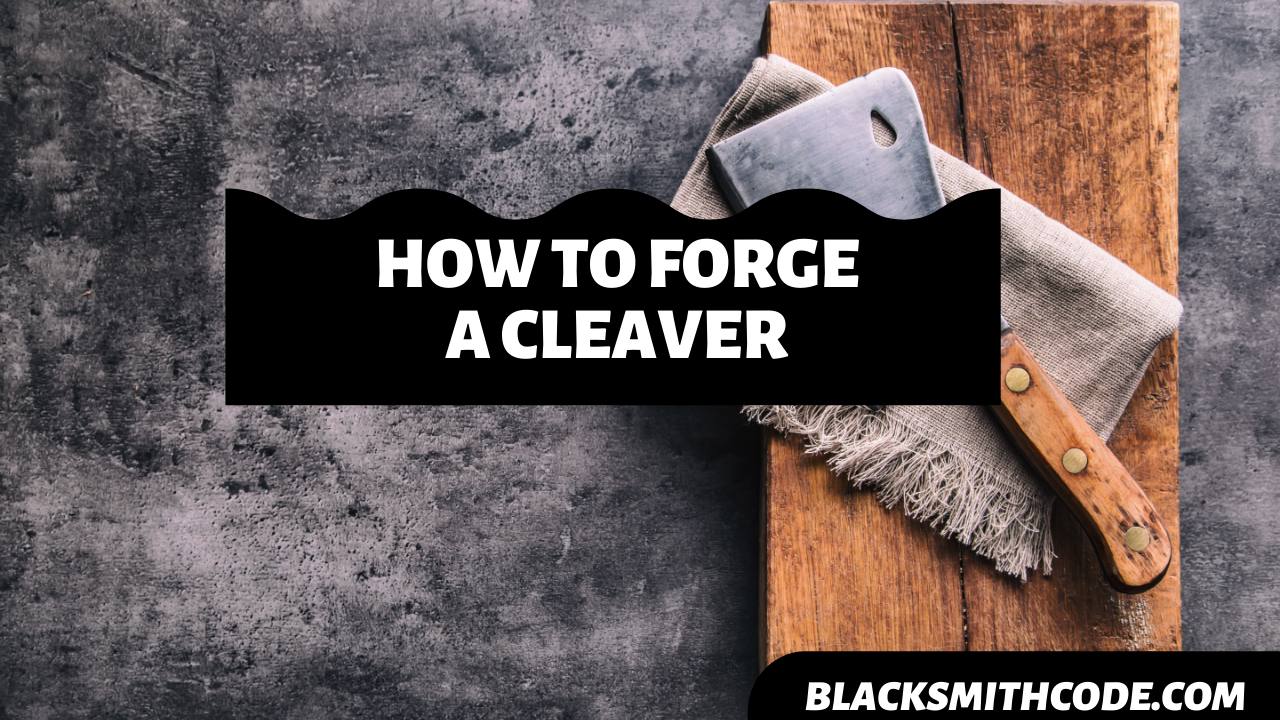
A cleaver is a type of knife that has a broad blade that looks like a rectangular base hatchet. It has a short handle for grip. The cleaver is useful as a kitchen knife.
It is also useful as a butcher knife. Aside from cutting objects, the blade of the cleaver is useful in crushing objects like fruits and vegetables.
Essentials
Below are tools needed to forge a cleaver:
Maker
Hacksaw
Jigsaw
Wheel cutter
Forge
Hammer
Anvil
Just to make it easy for you to forge a cleaver, there are steps you should follow. Following these steps duly gives you a high chance of getting your desired result.
Here are the steps to follow to forge your cleaver;
Instructions on How to Forge a Cleaver
Step 1: Prepare a Steel Plate
When forging, you should prepare all of what you need. It will help you get the job done easily and quickly. You should get a steel plate ready; you will forge your cleaver from the steel plate.
The steel plate should be large to be able to accommodate the size and shape of the cleaver.
Step 2: Place a Marking on Your Plate
Placing a marking on your plate is similar to drawing your cleaver on the steel plate. The markings should give the dimensions of your cleaver. The markings will help you cut out the shape easily and accurately.
Note
You should not place the markings based on visual intuitions. It might be inaccurate at times. You should take the measurements before placing your markings; it will give a more accurate result.
Step 3: Cut Out Your Shape
Now that you have your markings on the plate, you should now cut the shape out of the plate. You also have to be accurate when cutting out the shape off the plate.
To cut the shape, you should make use of a wheel cutter. The wheel cutter enables more accuracy when cutting. You can as well make use of the jigsaw or hacksaw. You can also make use of an automated tool to cut out the shape.
Step 4: Heat Your Plate
After cutting out your shape, you should heat the steel. Heating the steel will help you make the mass of the steel even and also help increase its toughness.
You should place the steel plate in a forge for heating. You should heat the steel for a long while before retrieving it from the forge. At this time, the steel should be red hot.
Step 5: Beat Your Steel
You have to beat your steel into shape while it is still hot. Beating the steel helps a lot in forging; some of its benefits include;
Quick Steps
- Creating an even mass of steel along the surface and body.
- Forming the shape of cleaver even before you completely forge your cleaver.
- It toughens the steel plate.
Beating does not only entail hitting your plate with a hammer. It entails shaping your steel plate with the action of your hammer. You have to beat the plate to give you the shape of the cleaver.
Step 6: Slightly Grind Your Steel Plate
Your steel plate has a rough shape of a cleaver. To make it attain the full shape of your cleaver, you have to grind it to remove the rough edges and surfaces.
Quick Steps
You should make use of the belt grinder to get rid of the rough surface. To grind the steel plate, you should;
- Hold the steel plate against the belt grinder. As the belt moves, it gets rid of the roughness.
- You should move the plate randomly to suit your taste.
Once you have your ground blade, you should now harden and temper it.
Step 7: Hardening and Tempering
To harden and temper, you have to reheat and quench the blade of the cleaver. Reheating and quenching are easy steps that you can complete within a couple of minutes.
To reheat, you should place the blade in a forge and heat for a while. You should only retrieve the blade from the forge when it is red-hot. After retrieving the blade, you should quench the blade in a quench liquid.
Quick Note
You should immerse the red-hot blade in a quench liquid and it is best to make use of oil. Be careful when immersing the hot steel in oil because of a fire outbreak.
Step 8: Grind and Sharpen Your Blade
After quenching your blade, you should grind it one more time. After grinding the blade, you should sharpen the blade also. You should sharpen the blade of the knife with a file or an angle grinder.
The cleaver should be very sharp because that is one of the properties of a good cleaver.
Step 9: Finishing
Now that you have your blade, you have to add the handle and some finishing touch. The handle and finishing touch you decide to add to your knife depends on your taste of fashion.
After adding your handle, you already forged a cleaver.
FAQs on How to Forge a Cleaver
Question
Is the cleaver different from the butcher’s knife?
Yes, the cleaver is different from the butcher’s knife. The cleaver has a thinner blade than that of the butcher’s knife. Its blade is also lighter than the butcher’s knife.
Question
What is the main function of a cleaver?
A cleaver is a tool of precision, but nowadays, its use has extended to the kitchen and the butcher’s table. The cleaver is useful in different forms of cutting.
Question
Can I forge my cleaver from rebar?
You can forge a cleaver from rebar. The rebar needs to be big to be able to forge a big cleaver. The size of the rebar determines the size of the cleaver that can be forged.
Video on How to Forge a Cleaver
Warnings
There are safety precautions that you should always follow when forging. At times, forging can be a dangerous process so you have to follow safety rules to ensure your safety.
Safety precautions include;
- Always keep your working environment free from dangerous objects.
- You should have a fire extinguisher in case of a fire outbreak.
- Always wear protective goggles, gloves, and footwear.
- Do not make use of damaged tools.
- Always make use of the right tool for the right task.


