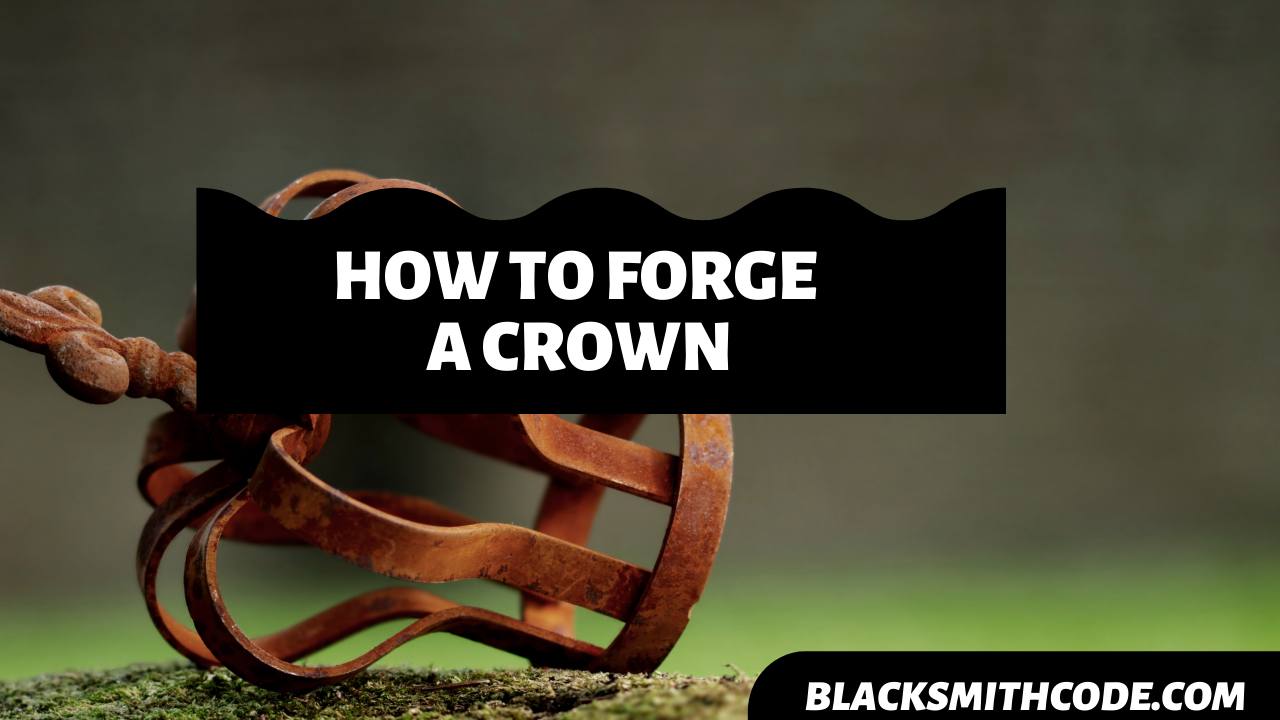
Does anything adorn the head better than a crown? A crown is one of the most precious jewels in the history of human existence. It will amaze you to know that blacksmiths can forge different crowns, just as beautiful and adorable as we know them to be.
There are several types of crowns. The one worn by kings and other respected individuals is one; there are others that are useful for other forms of adornment.
Crowns are also placed on statues, individuals, or some other projects to signify excellence and add a touch of beauty. However, there is no limitation to the type of crowns blacksmith can make as long as it is made from a forgeable material.
In this guide, you will learn one of the easiest ways to forge a Viking inspired crown using brass. We will take you through the necessary forging steps using one of the most forgeable materials. However, you should know that the forging process of a crown is not rigid.
There are thousands of designs, and you can even consider adding yours to it. You need creativity to single out your work from the rest.
Instructions on how to forge a crown
Step 1: Get Your Materials
The first step in making a crown is to ensure that all our materials and tools are available before proceeding. It is essential to note that most parts that form the design of the crown are pre-formed.
You should get all these parts and make them available to ease stress and help you achieve desirable results. Knowing and getting the right materials is the first step step to learning how to forge a crown.
Step 2: Create Your Design
Unlike other blacksmithing projects where you follow the conventional process. In forging a crown, you must be precise, specific, and deliberate about what you want.
To make the process easier, you can make a simulation of the crown you intend to build on a cardboard paper. This process will also help you decide the precise measurement to make and how to make your cuts.
Step 3: Measure and Cut
Following the simulation on the cardboard paper, you can start cutting the brass itself. The measurement and cutting must be precise and accurate. The essential parts to measure and cut out include;
- The long brass that would form the base template of the crown.
- A circular woodcut that will help you maintain the oval shape of the crown during the process.
- A tiny brass rod to add rigidity and strength to the edge of the brass template.
- Other components of the design.
Step 4: Form the Base
The base of a crown is the circular end that sits on the head. It will form the foundation on which every other design will be built. Therefore, this part’s size and perfection will go a long way in determining the outcome of the crown.
Basic steps to form the base of a crown
- Mark and cut out the length that would form the circular base using a brass cutter.
- Fold it around the wooden base to help you keep the shape.
- Fold it until the two edges overlap.
- Drill a hole through the two plates to make an attachment.
You can decide to add a little design to the base template of the crown, and the plan to add is solely dependent on individual choice. It is best to consider the design during measurement and cutting.
Once you have your desired shape joined perfectly together, you can make it rigid and stable. The rigidity and stability will help it take up other probable designs without crashing.
- Get your thin brass rod.
- Fold it around the upper edge of your circular base and weld together with a propane torch.
Step 5: Attach Other Parts
There is a high level of flexibility at this point. What you will attach is solely dependent on the type of design you want to make. You must also add them in a proper order to avoid complications.
The parts you are attaching are basically for designs. Also, these parts are usually performed to cover the crown’s circular base and add other uniqueness.
It would be best to have the parts you want to attach. You can either purchase one of your choice from a store or forge them yourself, using suitable techniques. It is best to figure out the best techniques while learning how to forge a crown.
There are two techniques for attaching the parts to the circular base of the crown;
Drilling method
You can make drills using a suitable drilling tool and then fix it up with a bolt. Alternatively, you can insert a thin piece of brass through the hole and hammer down to form a stop.
Forging method
You can make use of a propane torch to forge weld the joint and hammer down gently.
You should choose the joining technique that best suits the type of design you want to create.
Step 6: Finishing and Cleanup
Step 5 above is the principal determinant of your project’s outcome. Once you have your desired result from there, you can proceed to clean up and finish your project.
Fine-tune all edges with sandpaper or file. Polish the crown to make it appealing and attractive.
FAQs on how to forge a crown
Question
Can you make a crown from steel?
You can make a crown from steel, iron, and other similar materials. The only thing you need to learn is the technique involved in forging crowns from various materials. Although the basics are the same, the methods slightly differ.
Question
Can you cold forge a crown?
Yes! You can cold forge a crown. The only limitation here is that it is only applicable to soft materials like copper, bronze, and brass. You might not be able to cold forge crowns from materials like steel or iron.
Question
Can I make a customized crown?
Of course, your crown design can be as specific as possible. You can easily customize the crown to suit any purpose.
Video of how to forge a crown
Warnings and Precautions
- Pay attention to your finger while working with a propane torch to avoid burns.
- Use only drilling method that you are familiar with.
- Avoid making your workplace clumsy to prevent accidents.


