Do you know the use of tripod stand never goes out of date? Campfire tripod has been around for a long time, and it is still in use till today. It is useful for making outdoor cooking fires during camping and other similar events. Find out how to forge a campfire tripod
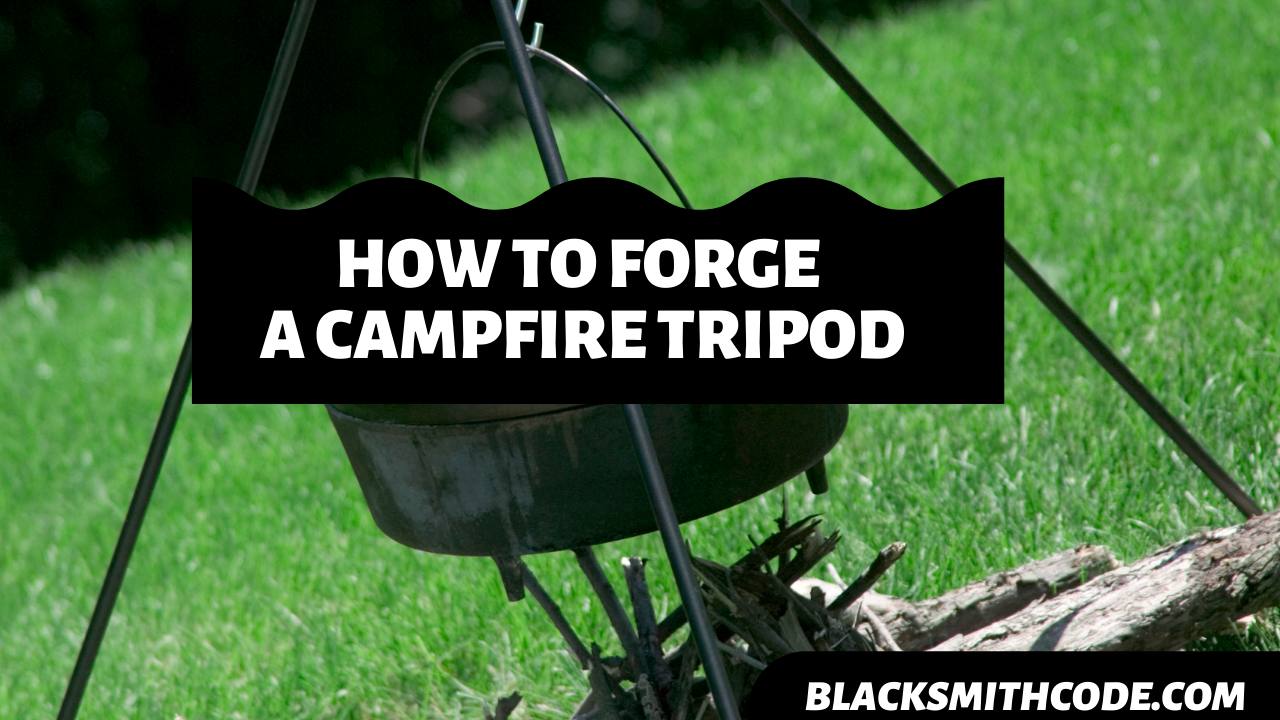
Just like the name implies, a tripod stand is a structure with three legs. It is useful for holding materials over campfires. The length of the legs is usually fixed, while the length of the chain holding the material over the campfire is always adjustable.
The campfire tripod is a highly commercial blacksmith product. You can either make them from wrought irons or build them from scraps and other materials. The forging procedures of campfire tripods are as simple as it appears.
The forging process is neither too demanding nor too stressful. However, you need to get the right steps to ease the process. In this guide, we would be familiarizing you with how to forge campfire tripods with scavenging parts rather than building every part from scratch.
This process is relatively more straightforward with this process. Also, it will cost less and give you the result you desire.
Instructions on How to Forge a Campfire Tripod

Step 1: Get Your Materials
As stated earlier, we will be making the campfire tripod from scavenging materials. Therefore, it is essential to get all the materials ready before proceeding with the process.
The materials you need include; 2 S-hooks, three sturdy eye bolts, 3 rods of desirable length, and a long chain with wire links. Once you have all these ready, you will go with the rest of the process.
Step 2: Cut The Stands
A campfire tripod usually has three stands. All its legs must be of equal length, and this length will form the height of your product. You might have to cut the desired length from the rod you have.
Quick Steps
- Tighten the rod to the clamp to hold it tightly.
- You should keep it around the area where you want to cut it.
- Use a hacksaw to cut all the way through.

Step 3: Open and Assemble The Eye Bolts
This process is a preparatory step for the next ones. You cannot use the bolt just the way you bought it. So, you have to open its eyes using a plier. You might need to exert strength and energy at this point.
- Open the eyes of one of the bolts.
- Insert the eyes of the other two pins into the one you opened with the plier.
- Also, insert the ring of the chain almost at the tail end of the chain.

Step 4: Connect the legs of The Tripod Stand
Now, it is time to make use of your S-hook. The connection you make here will go a long way in determining the stability of the tripod stand. Connect the three legs of the tripod stand at the same point where you connect the bolts to the chain’s ring.
Quick Steps
- Keep the legs at equal length away from each other while retaining the joint edge.
- Stand the three legs and insert each of the eye bolts into the legs.
- Stand it in the exact shape that it will look over a campfire.
- Put one of your S hooks on one of the rings of the chain near the top.
- Close the edges of the S-hook tightly with pliers.
- This point will serve as the adjustment point for anything you are attaching to the side of the chain and over the campfire.
Step 5: Cut The Chain to Desirable Length
There is a high probability that the length of the chain will be too long to accommodate the range of the tripod stand legs. You should measure and cut the string to a desirable length. This step is quite important in forging a campfire tripod
It is often advisable to let the chain be a little more than ¾ of the length of the legs. The extra you add will allow enough room for adjusting the length of the chain during application
Step 6: Attach Hook at the Edge of the Chain
This step is quite simple. You would only attach the second S-hook to the last ring of the chain. Next, you should close the edge of the S-hook that is attached to the ring. You can leave the other edge of the hook slightly opened.

Step 7: Customize
You can now add every other design and customization you desire. Most individuals usually prefer to use the tripod stand like that, and they enjoy their application.
FAQs on How to Forge a Campfire Tripod
Question
Is there an alternative technique for forging a tripod stand?
There are several ways you can make a tripod stand. The method used in this guide is for making a tripod stand from scavenging products. All the elements in this method have been pre-formed.
In other forging processes, you have to form all the parts of the tripod stand. The advantage of this method is that it allows flexibility. It will enable you to customize the product thoroughly.
Question
Can I make tripod stand for sale?
Yes, tripod stand is one of the most commercial blacksmithing products. It is useful for people that are out on camping and other outdoor leisure activities. Blacksmith often makes good cash from the sale of tripod stands at good rates.
Question
Can I make tripod stand from Damascus steel?
Just like most other blacksmithing products, you can make campfire tripods from diverse materials. Damascus steel is not an exception to this. You can make a good tripod stand from Damascus steel.
However, the quality of the tripod stand is dependent on the quality of the material you use for the forging process.
Video on How to Forge a Campfire Tripod
Warnings
- Ensure that you are using the right materials and the right tools for the parts.
- Be careful while making cuts with your hacksaw.
- If you are forging the tripod stand from scratch, ensure that you use a glove, aprons, and other protective gear.