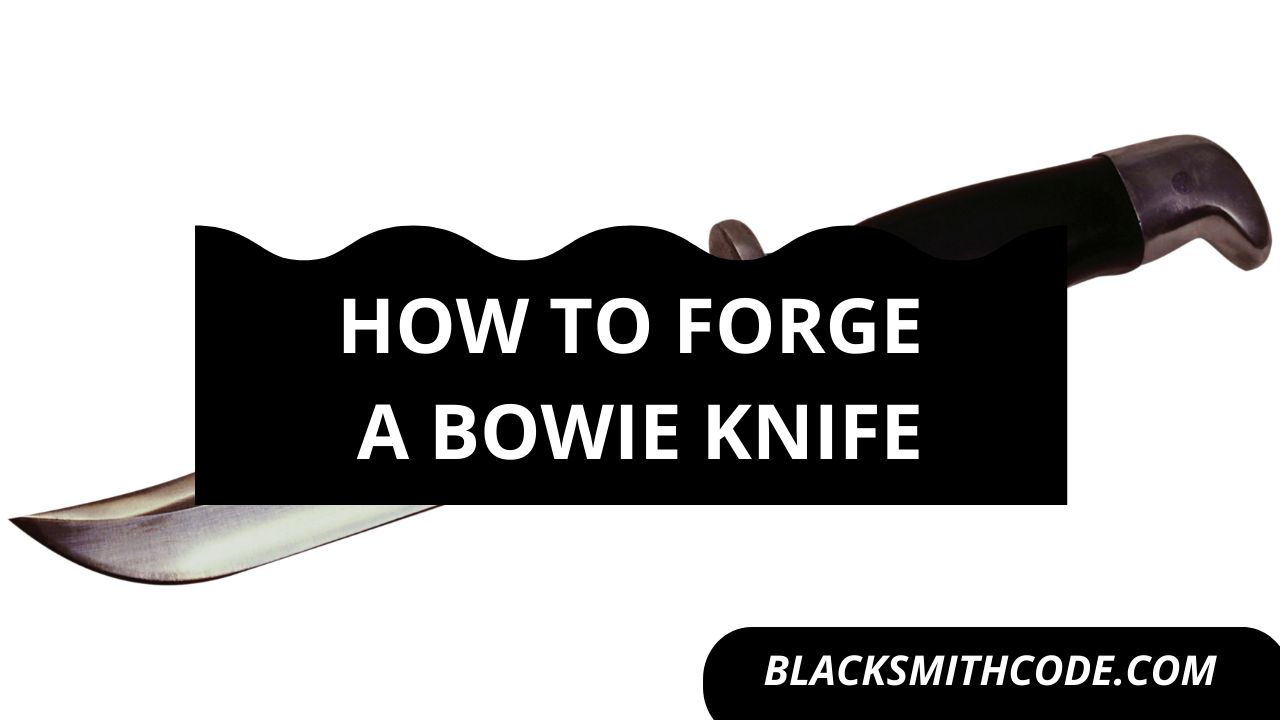
Do you know that as a blacksmith, you can make different types of knives? Bowie knife is a great choice in the list of forgeable tools. So, let’s learn how to forge a bowie knife.
A bowie knife is a type of knife that has a cross guide and a long blade. The blade is a long blade with a sharp double edge at a point. The bowie knife is different from a regular knife by having a cross guide and a double edge.
Forging bowie knives started in the 19th century, where James Black formed this type of knife for Jim Bowie. The blade got its name from its famous user. Jim Bowie became famous with the use of this type of knife, especially in sandbar fighting.
The bowie knife is useful as a self-defense weapon. In other times, it is used by outdoor men and hunters for butchering and skinning game. It is also a versatile tool that can smoothly perform different tasks such as scaling fishes, cutting woods, and other menial jobs.
There are different steps you have to take when forging a bowie knife. These steps include;
Instructions on How to Forge a Bowie Knife
Step 1: Get Your Design
The first step you have to take is to get the design you want your bowie knife to take after. You should sketch the design you want.
Drawing the design before forging will give you an insight into what your bowie knife will look like when you are done. You should always have the features of a bowie knife in your design. If not, it is not a bowie knife.
Step 2: Getting Your Material
The material and tools you want to use in forging a bowie knife should be kept ready and intact. Getting your materials and tools ready will make the work easy and convenient.
It would be best if you got a bar of metal, preferably steel, to serve as the blade of the bowie knife and a piece of wood to serve as the handle.
Step 3: Annealing
Annealing is not necessary when forging a bowie knife, but it helps increase the lifespan of the blade.
To anneal, you have to heat your metal to a high temperature and place it in a container full of wood ash. The hot metal bar should be buried in the wood ash and allowed to cool steadily.
Pro Tip
In the absence of wood ash, you can also make use of an oven to heat and treat the metal or cool the metal consistently in vermiculite. Annealing might take up to two hours, so you have to be patient as it will be worth it in the long run.
Step 4: Transferring Your Design
Transferring your design to the metal bar is crucial and should be done cautiously. You can do this by drawing the design you want on the metal blade so as to make it easy and accurate when cutting with a wheel cutter or a hacksaw.
You can draw the plan with a permanent marker to ensure the longevity of the drawing.
Step 5: Cutting the Shape Out
When you are satisfied with your design drawn on the blade, you can proceed to cut out the shape of the blade to follow the pattern drawn. You can cut out the form using a wheel cutter or a hacksaw. Using these two instruments gives higher accuracy than many other tools.

Step 6: Drilling and Grinding
Your bowie knife is sure to have a handle, so you have to drill some holes at the end of the blade designed to be the handle. The breach will help secure the handle to the blade.
Pro Tip
It would be best if you also ground the edges of the blade according to your design to have sharp edges that make it look like a bowie knife. After grinding, your metal bar starts to take the shape of your designed bowie knife.
Step 7: Re-Heating and Quenching
After you are done with the drilling and grinding, you should re-heat the blade to a very high temperature. Re-heating the edges strengthens the knife more than it was.
After re-heating, you should quench the blade steadily in quench oil. You should be careful when quenching the metal in the oil because dipping hot steel into oil can cause a fire, so you should be very careful.
Quenching the steel can take an hour, so you need to be very patient.
Step 8: Sharpening
You should also sharpen the edges of the knife. One of the qualities of a good knife is to have a very sharp edge, if not two. So, sharpening the sides of your bowie knife is very important. You can sharpen the edges of your blade using a file, grinder, or an angle grinder.
Step 9: Polishing
This step involves checking out the bowie knife you forged and also adding some finishing touches to the blade. It also includes adding some effects to the Bowie knife where needed.
Step 10: Adding the Handle
You should add your preferred handle to the bowie knife. It is often advisable to use a handle that can improve grip on the bowie knife
FAQs on How to Forge a Bowie Knife
Question
What is the difference between a bowie knife and a dagger?
The main difference between a dagger and a bowie knife is that the blade of a dagger is a double-edged type of knife while a bowie knife is only double-edged at a point.
Question
Can you use a bowie knife like a regular knife?
Yes, you can use a bowie knife as a regular knife. It is possible because the bowie knife has an edge of a knife. But you cannot use a knife like a bowie knife because the bowie’s structure is more complicated than a regular knife.
Question
Can you forge a bowie knife with any metal?
Provided the metal is large and strong enough to act as a knife, it can be useful to forge a bowie knife.
Video on How to Forge a Bowie Knife
Warnings
- It would be best if you were careful when handling tools and materials.
- You should follow the safety rules and regulations.
- Wear protective clothing.
- Use the right and appropriate tools for the task to perform.
- Do not use damaged tools.


